Overview of Throwing and Catching
Backhand Throws
The backhand is the throw most of us used the first time we picked up a disc. For most new Ultimate players this is the easiest throw to learn for throwing accurately over a useful distance.
The Grip
There are many different ways you can grip the disc for a backhand, and as your comfort level with throwing a disc evolves so will your grip. Below are the three most common variations. The main thing is that you understand the principles and get out there with a disc to figure out what works for you.
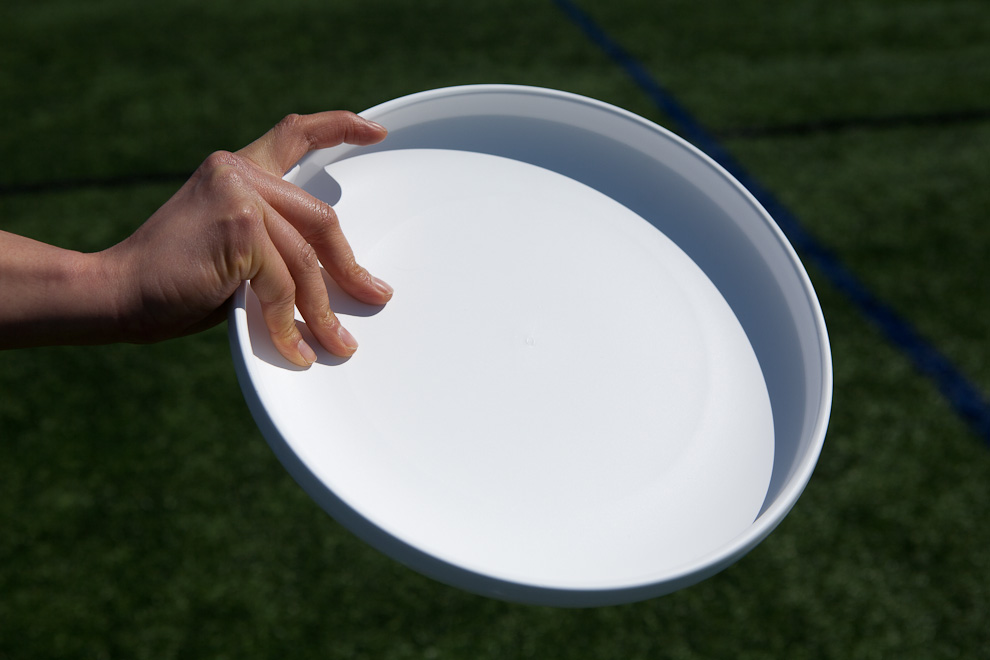
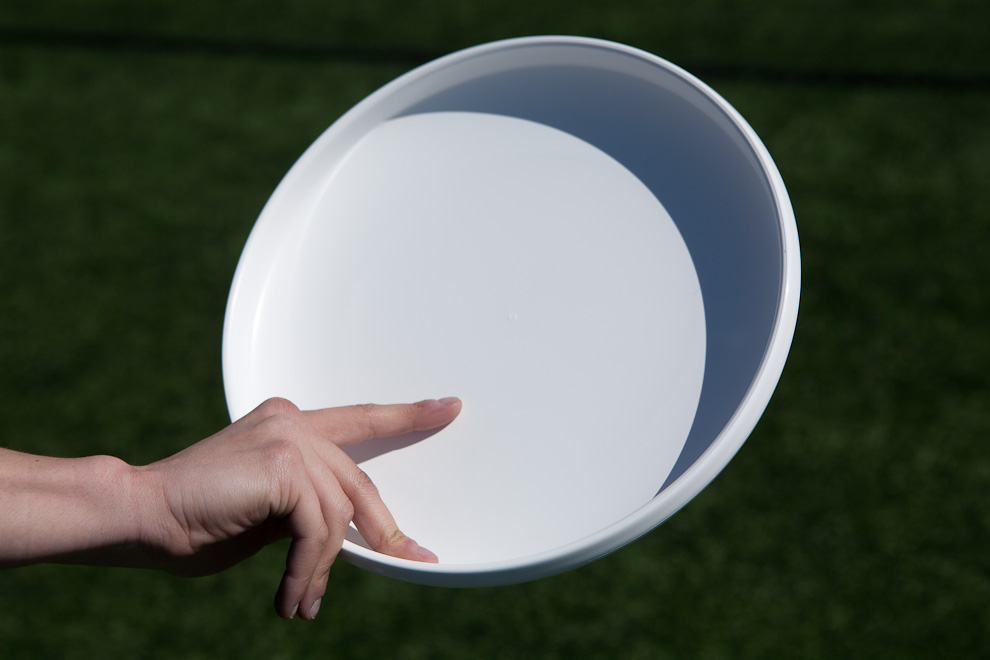
For all three grips your thumb is on top of the disc on the rim and your fingers are curled underneath. The three graphics below show each grip:
1. Split finger
- Has the most control, but the least amount of power
.jpg)
2. Single finger
- Medium control and power
.jpg)
.jpg)
3. Power grip
- Most power, but the least accurate
.jpg)
.jpg)
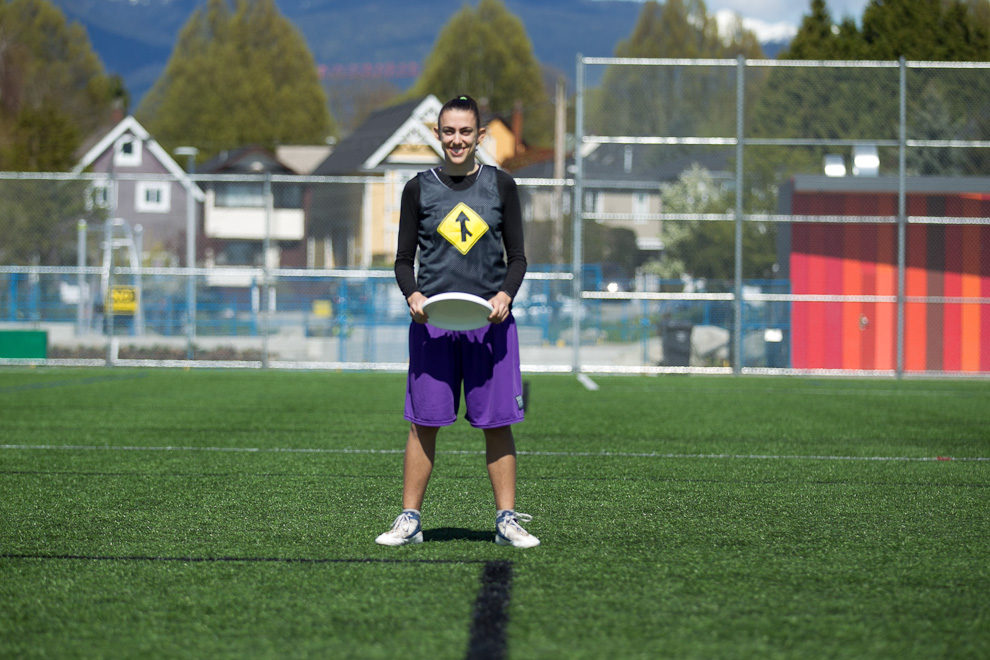
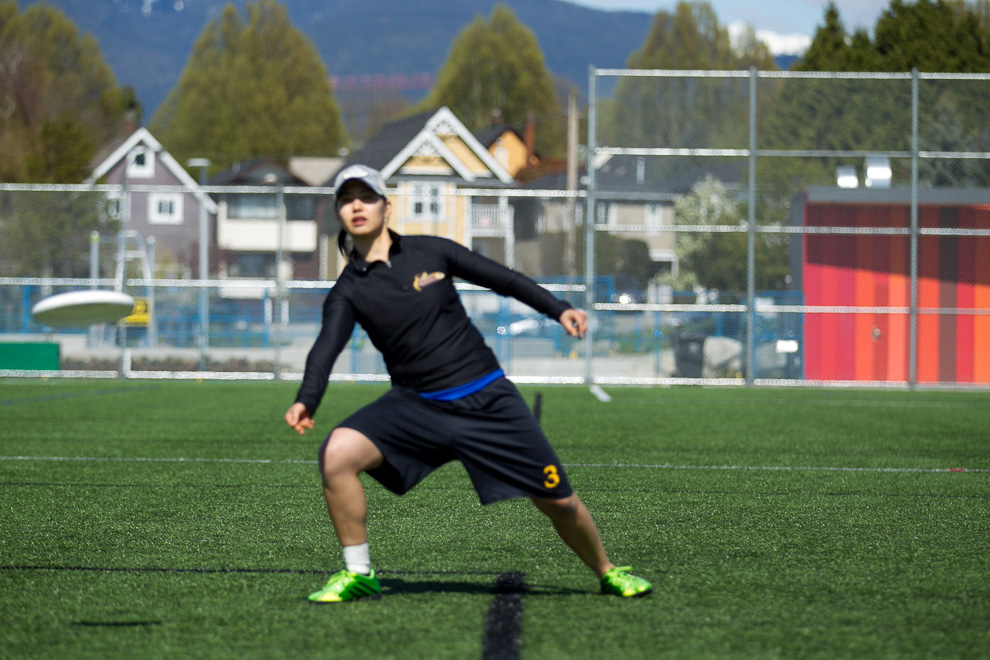
Body Position
Your body should be positioned so you are looking upfield toward your endzone. Stand on the balls of your feet with your legs shoulder-width apart and your knees slightly bent.
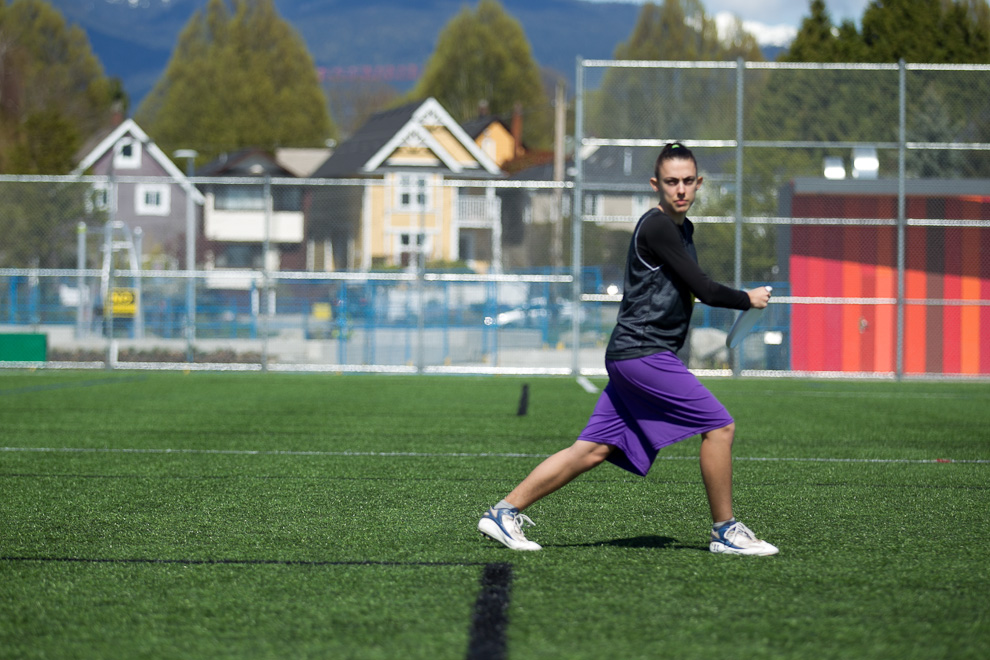
Movement
RIGHT-HANDED throwers
- Pivot. Keep your left (pivot) foot firmly planted and raise your right foot.
- Lunge. Swing your right foot all the way onto the other side of your body so you are now lunging to the left. You should be stepping almost perpendicular to the direction you want to throw.
- Wind up. At the same time as you lunge, curl your right arm around your body with your elbow more or less over your right knee and pointing in the direction you want to throw.
- Unwind. Keeping the disc flat and at chest height, uncurl your arm toward the space you want to throw to.

LEFT-HANDED throwers
- Pivot. Keep your right (pivot) foot firmly planted and raise your left foot.
- Lunge. Swing your left foot all the way onto the other side of your body so you are now lunging to the right. You should be stepping almost perpendicular to the direction you want to throw.
- Wind up. At the same time as you lunge, curl your left arm around your body with your elbow more or less over your left knee and pointing in the direction you want to throw.
- Unwind. Keeping the disc flat and at chest height, uncurl your arm toward the space you want to throw to.
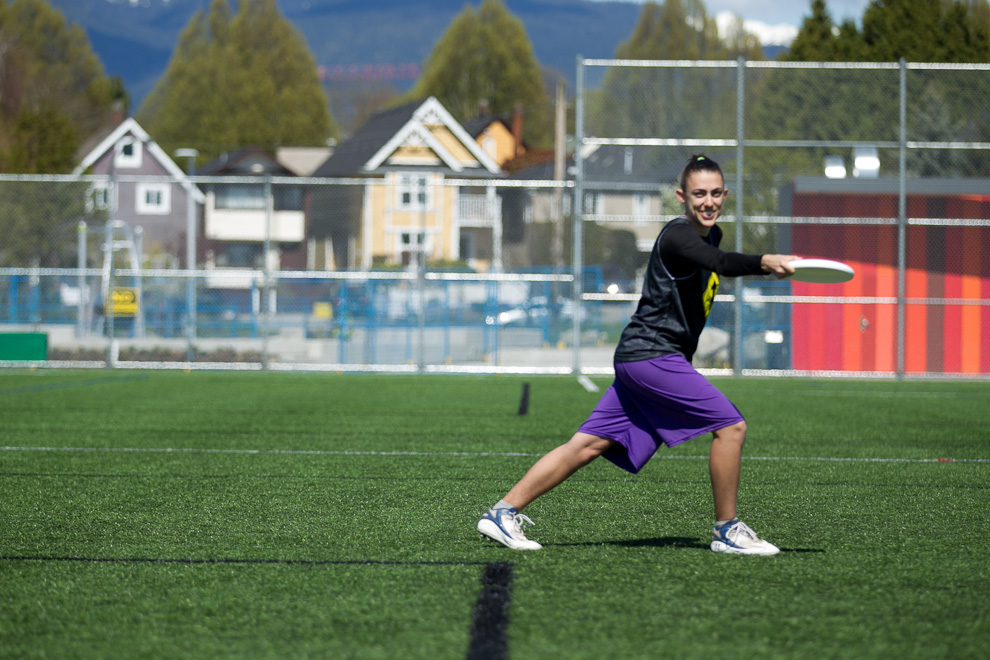
The Release
Before you release the disc, it should be flat and your arm should be extended. To release the backhand:
- Snap your wrist.
- Let go of the disc at the end of the snap.
The faster you release the disc the more spin it will have. Spin provides accuracy, distance and lets the disc fly flat.
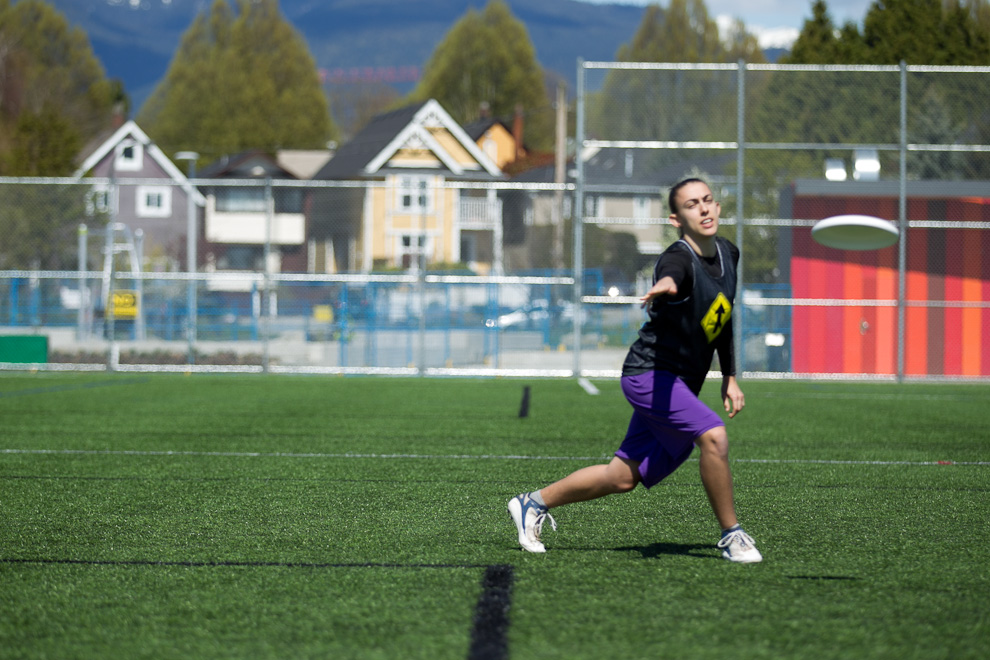
Forehand (Flick) Throw
Learning how to throw a forehand, or flick, is an essential skill for every Ultimate player. Most defenders will try to force you to throw to one side of the field or the other, so being able to throw both a strong forehand and backhand ensures you always have a good throwing option.
The Grip
There are a few variations on forehand grips, and just like the backhand, as you throw more you will figure out what works best for you. The two most common grips are:
1. Split finger
- More accurate, less powerful
- Make a “V” with your middle and index and place these two fingers under the disc. Your middle finger should be snug against the rim on the underside of the disc, and your index finger should point toward the centre.
- Place your thumb on the top of the disc, not too close to the rim in a position where it is comfortable. The other two fingers are curled loosely in your palm.
2. Power grip
- More potential power, takes more practice to be accurate
Begin as above but the index finger, instead of pointing toward the middle, can slide beside the middle finger on the rim of the disc.
Body Position
Your body should be positioned so you are looking upfield toward your endzone. Stand on the balls of your feet with your legs shoulder-width apart and your knees slightly bent. The elbow of your throwing arm should be close to your side.

Movement
The motion of the forehand throw is fluid and the steps below all happen pretty close together.
RIGHT-HANDED throwers
- Lunge. Begin by stepping out to the side and a little bit forward with your right leg, keeping the toes of your left foot firmly planted on the ground.
- Elbow back. Draw your elbow back behind you, so your hand with the disc in it is about even with or behind the plane of your body.
- Elbow forward. Leaning slightly over to your right-hand side to keep the disc flat, leading with your elbow, move your arm forward at about hip level.
- Wrist snap. Quickly follow the elbow with your wrist with a quick snapping motion, like a whip.
- Elbow straighten and finger snap. Straighten your elbow quickly to create another quick snapping motion that culminates with a (sometimes audible!) finger snap.

.jpg)
LEFT-HANDED throwers
- Lunge. Begin by stepping out to the side and a little bit forward with your left leg, keeping the toes of your right foot firmly planted on the ground.
- Elbow back. Draw your elbow back behind you, so your hand with the disc in it is about even with or behind the plane of your body.
- Elbow forward. Leaning slightly over to your left-hand side to keep the disc flat, leading with your elbow, move your arm forward at about hip level.
- Wrist snap. Quickly follow the elbow with your wrist with a quick snapping motion, like a whip.
- Elbow straighten and finger snap. Straighten your elbow quickly to create another quick snapping motion that culminates with a (sometimes audible!) finger snap.
The Release
Before you release the disc, it should be flat.
- Snap your wrist.
- Let go of the disc at the end of the snap.
- Follow through. Once the frisbee has been released your arm should be extended and twisted, with the throwing hand in a palm-up position with fingers splayed in a twisted motion as though you’ve just unscrewed the top of an upside-down jar of jam. Your index and middle finger should be pointed pretty close to where you wanted the frisbee to go.
The faster you release the disc the more spin it will have, which provides accuracy, distance and lets the disc fly flat.
Common Throwing Problems and Solutions
Use these tips for both forehand and backhand throws.
1.The disc hooks to the left or right.
Make sure that when you release the disc, it is flat (parallel to the ground). You may find that leaning over or lunging helps to get your arm in a position that makes this possible (bonus: this will also help you get away from the person marking you!).
2.The disc slowly arcs up and floats for too long.
This is commonly called an air bounce and happens when the frisbee is angled upward when you release it. Aim slightly downward on your throws to compensate. It will help to focus on throwing the disc flat and not releasing the disc until your throwing arm is fully extended.
3.The disc goes into the ground.
This happens because the front end of the disc is angled down toward the ground. Aim slightly upward on your throws to compensate. Work on keeping the disc flat when you release it.
4.The disc wobbles.
The frisbee needs lots of spin to keep it moving smoothly through the air. To get more spin you can try one of two things: (1) work on getting more wrist snap with your release (but make sure you don’t begin to overuse your arm or shoulder! It really is all in the wrist); or (2) make sure you are following through on your release so that your arm is fully extended and your hand is pointing toward where you are throwing after the disc leaves it.
5.The disc won't fly very far.
There are two things that can help the disc fly farther: (1) more spin, and (2) adding coordinated body movements. To get more spin you can focus on improving the wrist snap. To add coordinated body movements you can think of your entire body acting like a whip to release the disc. Your weight should shift from the back foot to the front and hips, core, shoulders, elbow and wrist all work together as a whip would.
6. My throws aren't accurate.
The disc will go in the direction you are pointing your arm when you release it. Make sure your arm is pointing in the direction you want your throws to go.
Important Tips
- Mechanics first. New throwers may find it less frustrating to work on how to throw correctly (so the disc flies smoothly and accurately) before worrying about distance. This is likely a new motion for your body and a set of muscles you use probably aren’t used to moving like this! Focus on the wrist snap and release, without worrying too much about coordinating the rest of your body movement.
- Practice. And then practice more and more!
Throwing in a Game
Once you have practiced throwing in the park you’re ready to start throwing in a game. But it might not be as easy as you think. There are two adjustments that many new players find both challenging and unexpected when throwing in a game situation for the first time:
Throwing with a defender marking you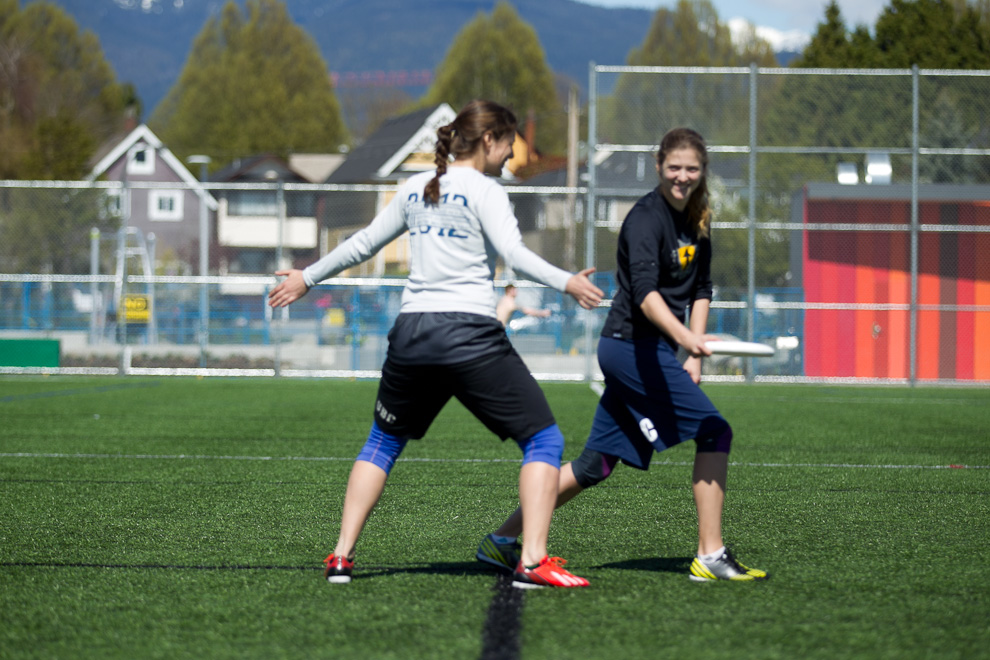
One of your opponents will try to defend or limit your throws - something we call marking. They will be standing about the distance of a disc away from you counting loudly to 10, and doing everything they can to either block your throw, or force you to make the throw they want you to. This takes some time to get used to!
Throwing to a moving target
Your teammates will be running hard and making cuts, trying to provide an open target for you to throw to. It is very rarely advisable to throw to someone who isn’t moving, so you’ll need to adjust your throws to account for the moving target. Your teammate will want you to throw to the space they’re running to, not to where they are when you first release it – so throw several steps ahead of your intended pass.
Tips to Remember: The Basics
- Be patient and stay calm. You have 10 stall counts to throw the disc so try not to rush.
- Make eye contact. Look at your receiver and make eye contact before you throw to them. This way, they'll know the disc is coming!
- Take the easy throw. When it’s available, take the easy throw.
- Throw to space. Remember that you are usually throwing to a moving target. You have to throw to the open space your receiver is running to, as opposed to where the runner is when you release the disc. When you are practicing your throws, make sure you also practice throwing to a moving receiver.
- Dump. You don’t have to throw up the field in the direction of the endzone. If the stall count gets past 5 and you don’t have an open receiver, look to throw to a player behind you. This player is called a dump. You may lose a couple of yards, but this can be a good play because it resets the stall count at 0 and gives your team more time to get open.
- Play safe. Make throws that result in safe catches. Try to avoid throwing passes that hang in the air for too long. The result will be 3-4 players jumping to try and catch the disc at the same time. This is a dangerous play, sometimes referred to as a "hospital pass", because it could easily send players to the hospital.
Tips to Remember: Next steps
- Pivot.Other than your pivot foot, you are allowed to move. You can pivot as much as you like around that pivot foot, just like in basketball, so this can help you create options for throws.
- Fake. You can fake a throw by pretending you are going to throw the disc, but hang on to it. This can throw off your mark and give you more room to make the throw you want. To practice fakes, with a Frisbee in your hand, quickly move the disc from a forehand/flick grip to a backhand grip, and back again. Repeat.
- Break the force, Throwing to the open side of the field is usually your easiest option, but also consider throws to the opposite side the field, especially if your receiver is nice and open. This is called breaking the force. For more detail on what the force is, check out the page titled the force in the defense section.
Catching
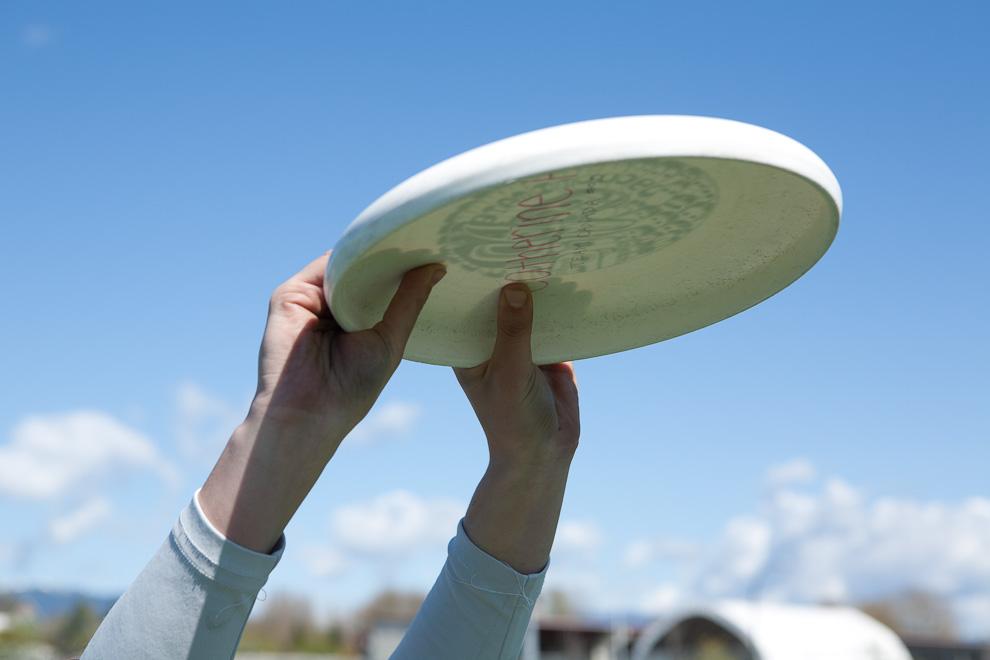
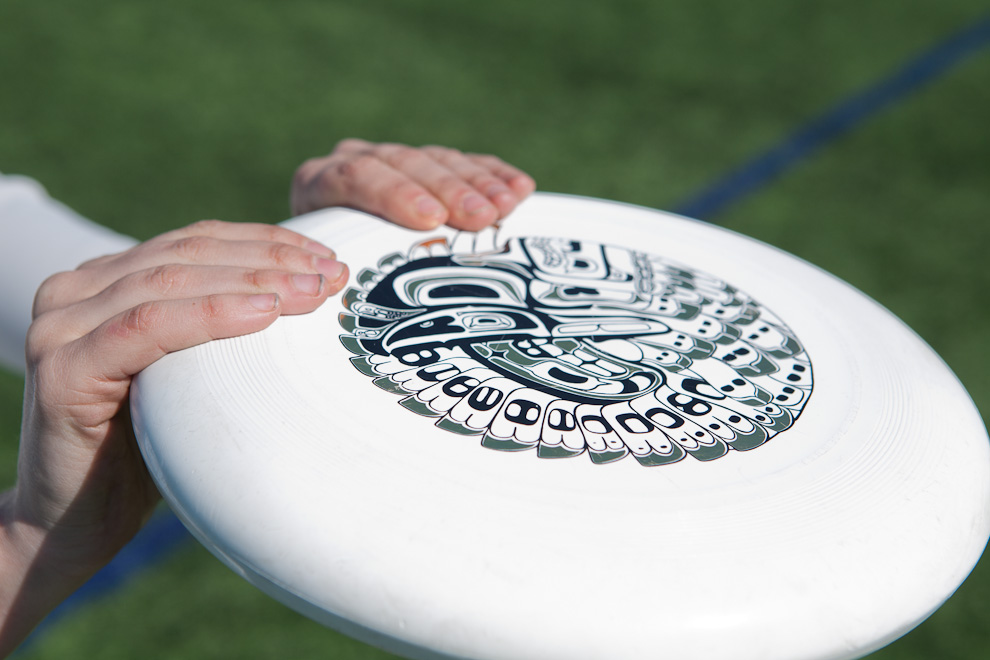
The most important thing to remember when catching in Ultimate is use two hands whenever you can. Even if the throw is above your shoulders or below your knees, you should try and catch the disc with both hands.
Pancake Catch
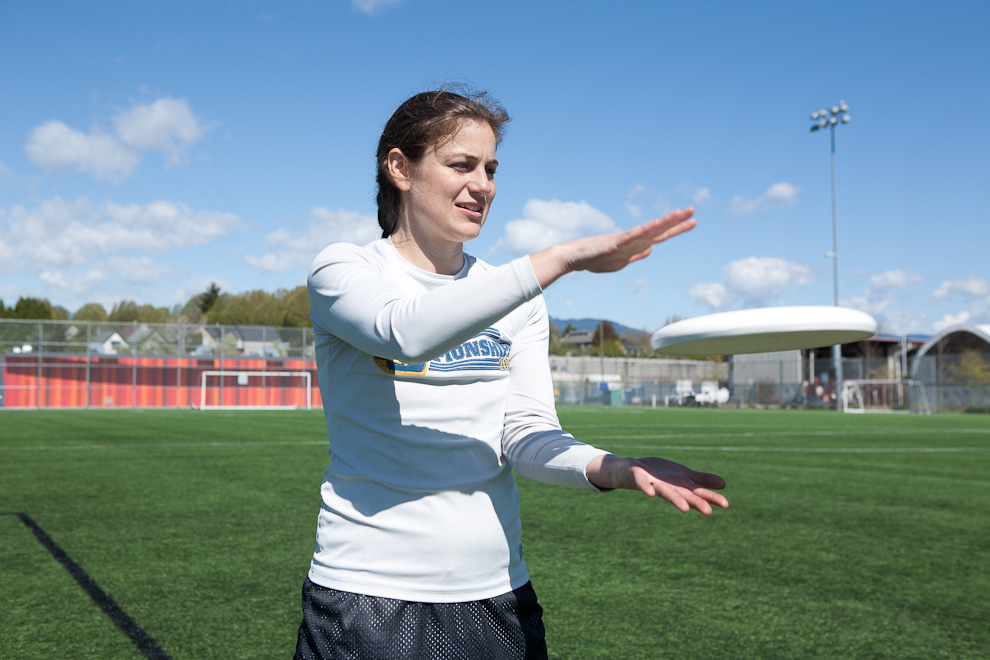
The catch you should use most...
- Your arms should be parallel to each other with the palm of your bottom hand facing the sky and the palm of your top hand facing the ground.
- When the frisbee is between your hands clap them together as close to the centre of the disc as you can and pull it toward your chest.
- It is easiest to make this catch when the disc is around chest level, but as long as you can make a pancake catch (by bending down or jumping up) it is the safest catch to make.
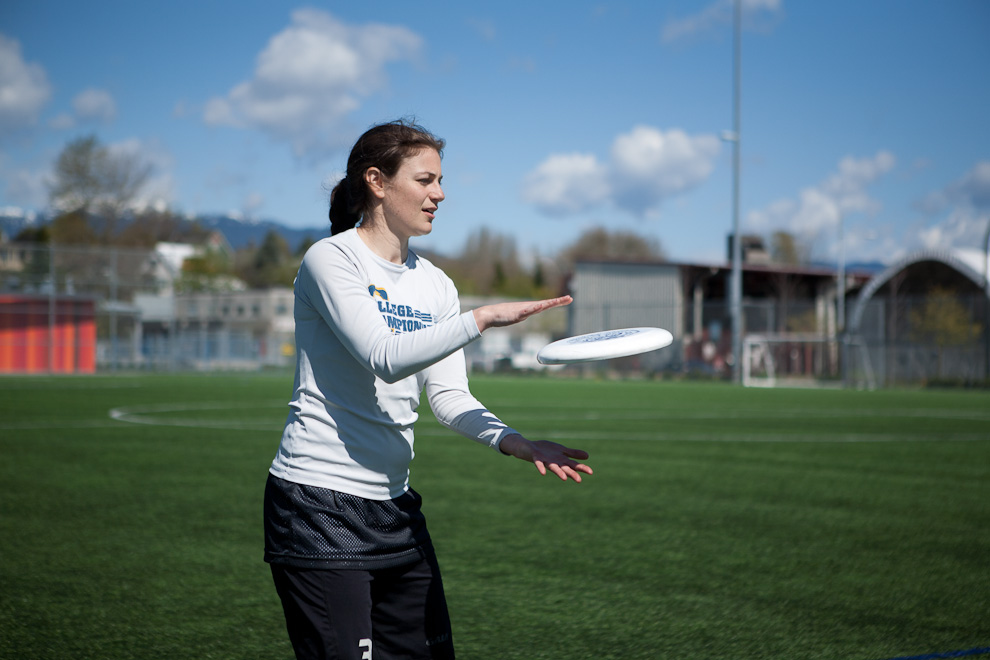
Rim Catch
If the throw is too high or too low to make a pancake catch you should use a rim catch.
- Still use both hands, but in this case using them to catch the rim of the disc.
- Your hands should be close together (only about three inches apart).
- Your thumbs should be turned towards one another with the rest of your fingers forming an open claw.
- When the disc comes into your claw, close your fingers around the disc.
Tips for Catching
Eyes on the prize
Keep your eyes on the disc all the way until it is securely in your hands.
Use two hands whenever you can
While you should try to use both hands for most catches, there will be times where you can only use one hand. For these catches, you are basically doing a one-handed rim catch.
Keep running onto the disc
When the disc is coming towards you, do not wait for it. Keep running full speed until you catch it. Standing and waiting for the disc gives a defender too much time to intercept it.